Custom Objects ("prefabs")
Custom objects are containers, composed of one or more other objects and having custom logic (made with events, like in a traditional scene) inside them.
Tip
"Custom objects" are also called "Prefabs" or "Templates" in some game engines.
They allow to speed-up development and make games more modular by having an object that can be reused in different scenes.
For example, you can build:
- A dialog, composed of a background, some text, some buttons. This allows to do all the logic related to this dialog inside the custom object events, without cluttering the scene events.
- A character or some other game objects that is composed of multiple parts. For example, a player with a moving arm.
Note
The multitouch joysticks, buttons, sliders and other user interface objects that you can find in the list of objects are “custom objects” built with other objects.
The objects contained inside a custom object are called "children" or "child objects".
Create a new custom object
Custom objects are grouped into "extensions". Extensions are composed of functions, behaviors or custom objects powered by events. You can see the list of all the extensions the game has in the Project Manager.
To create a new custom object, the easiest way is to add a few objects on the scene, then put an instance of each on the scene editor. Select then these instances, right click/long touch the selection and choose "Extract" > "Extract as a custom object".
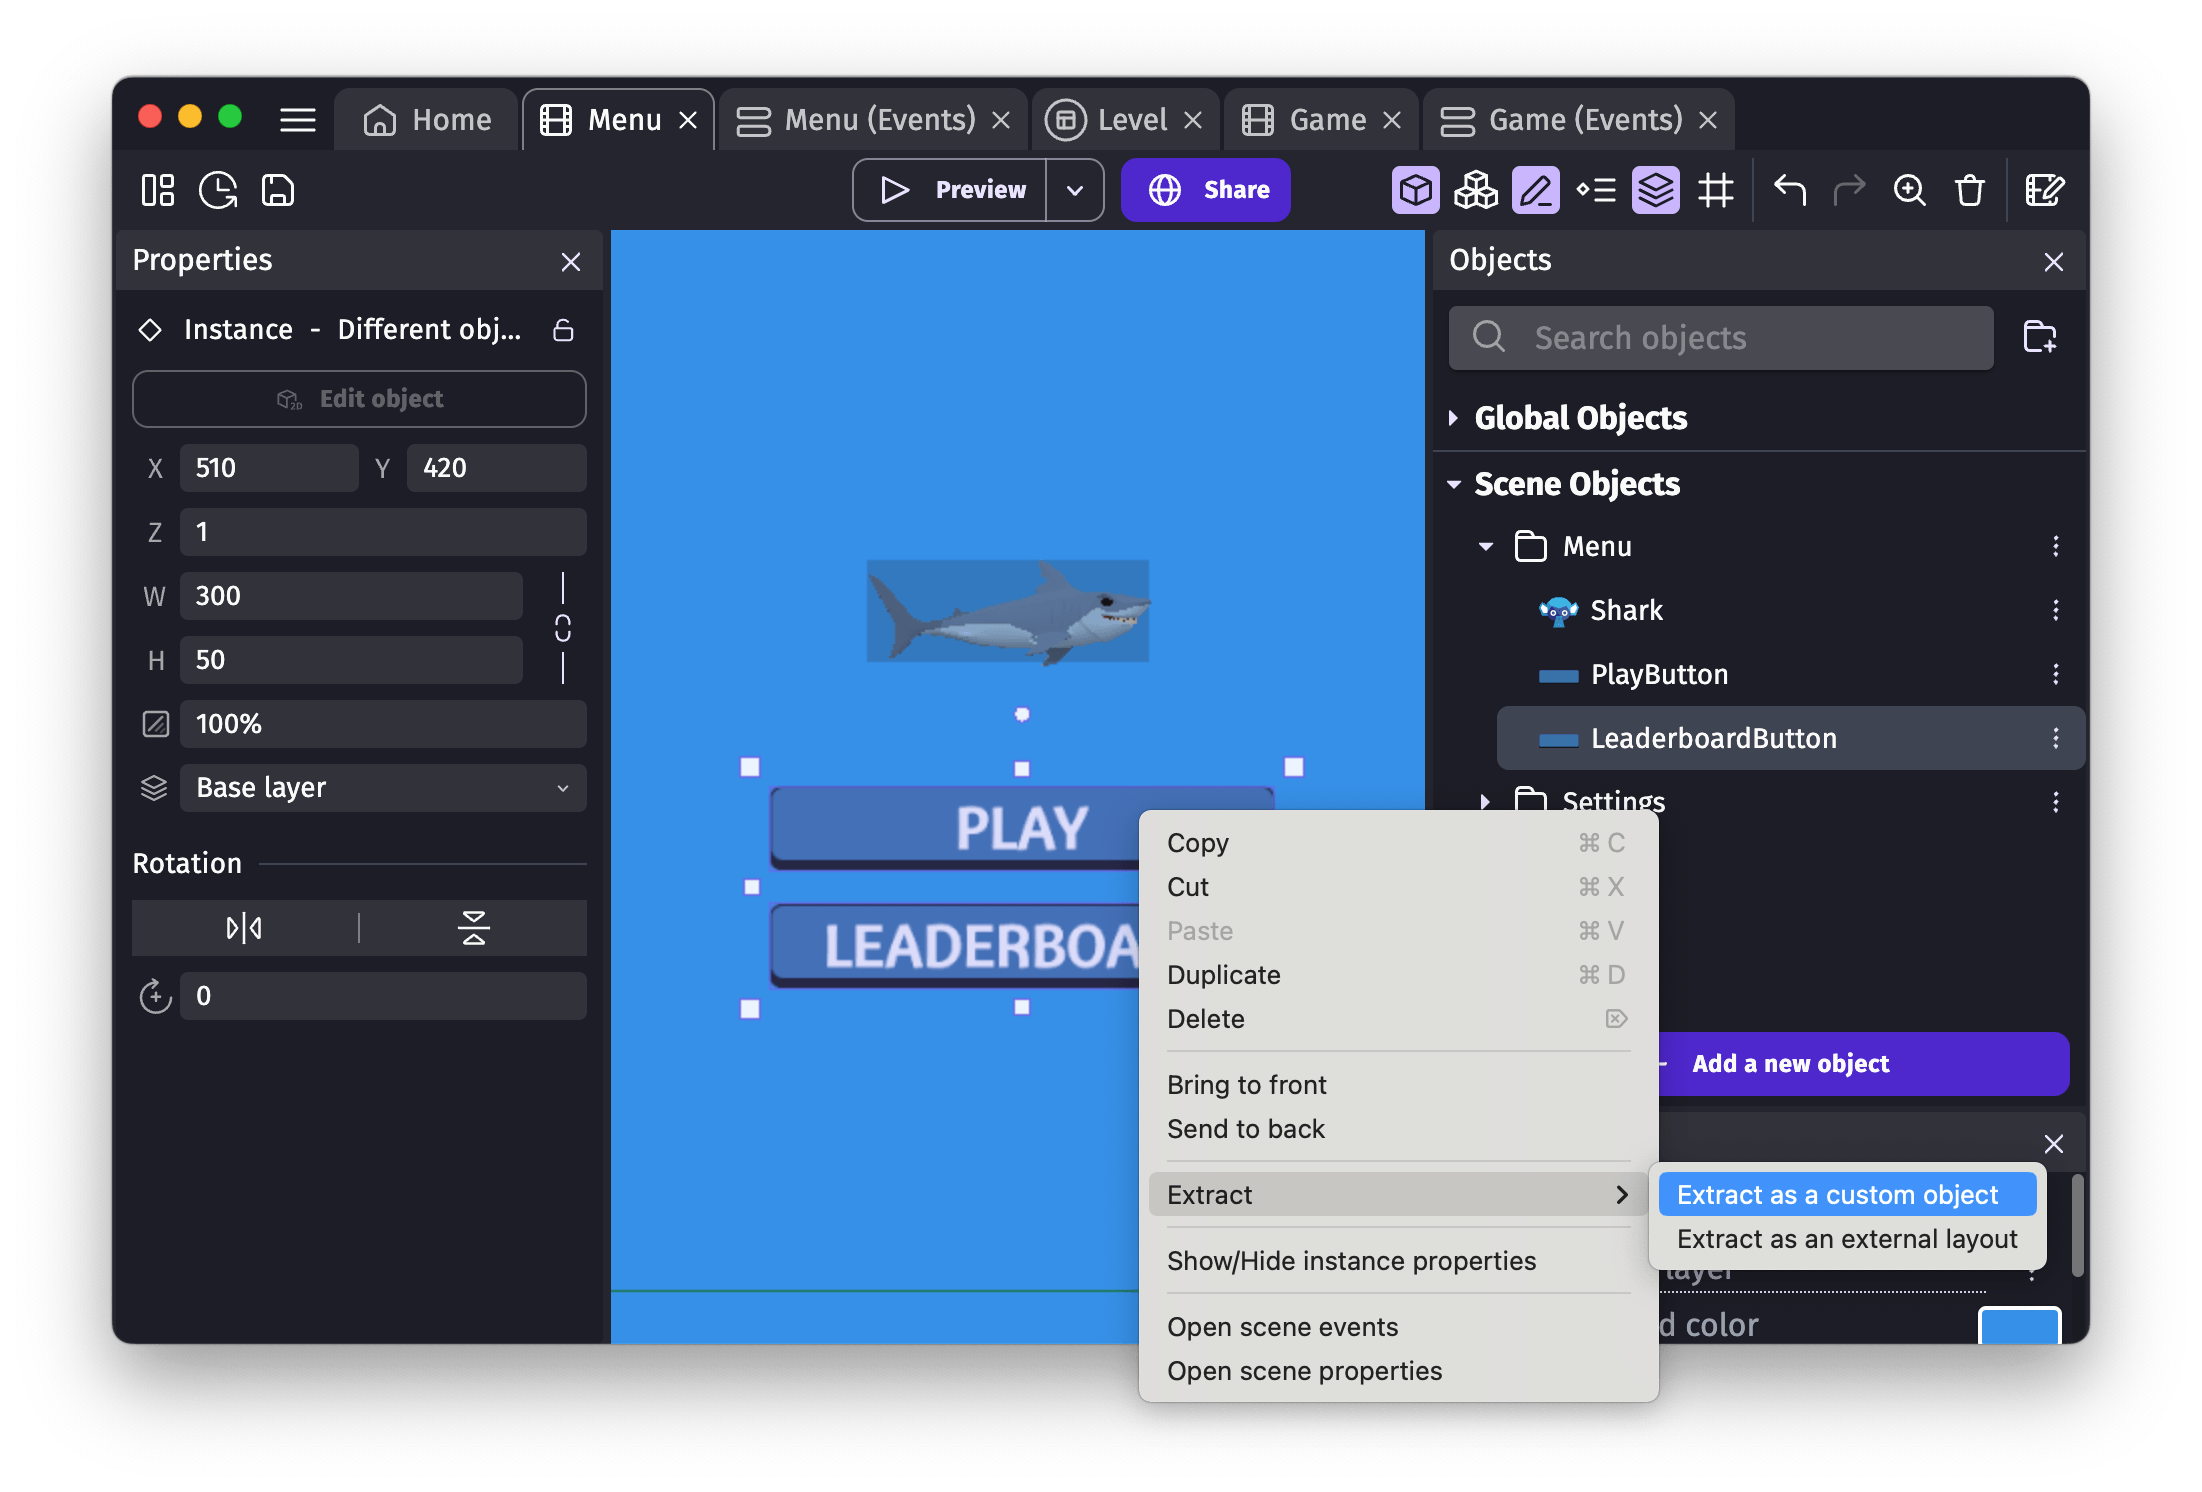
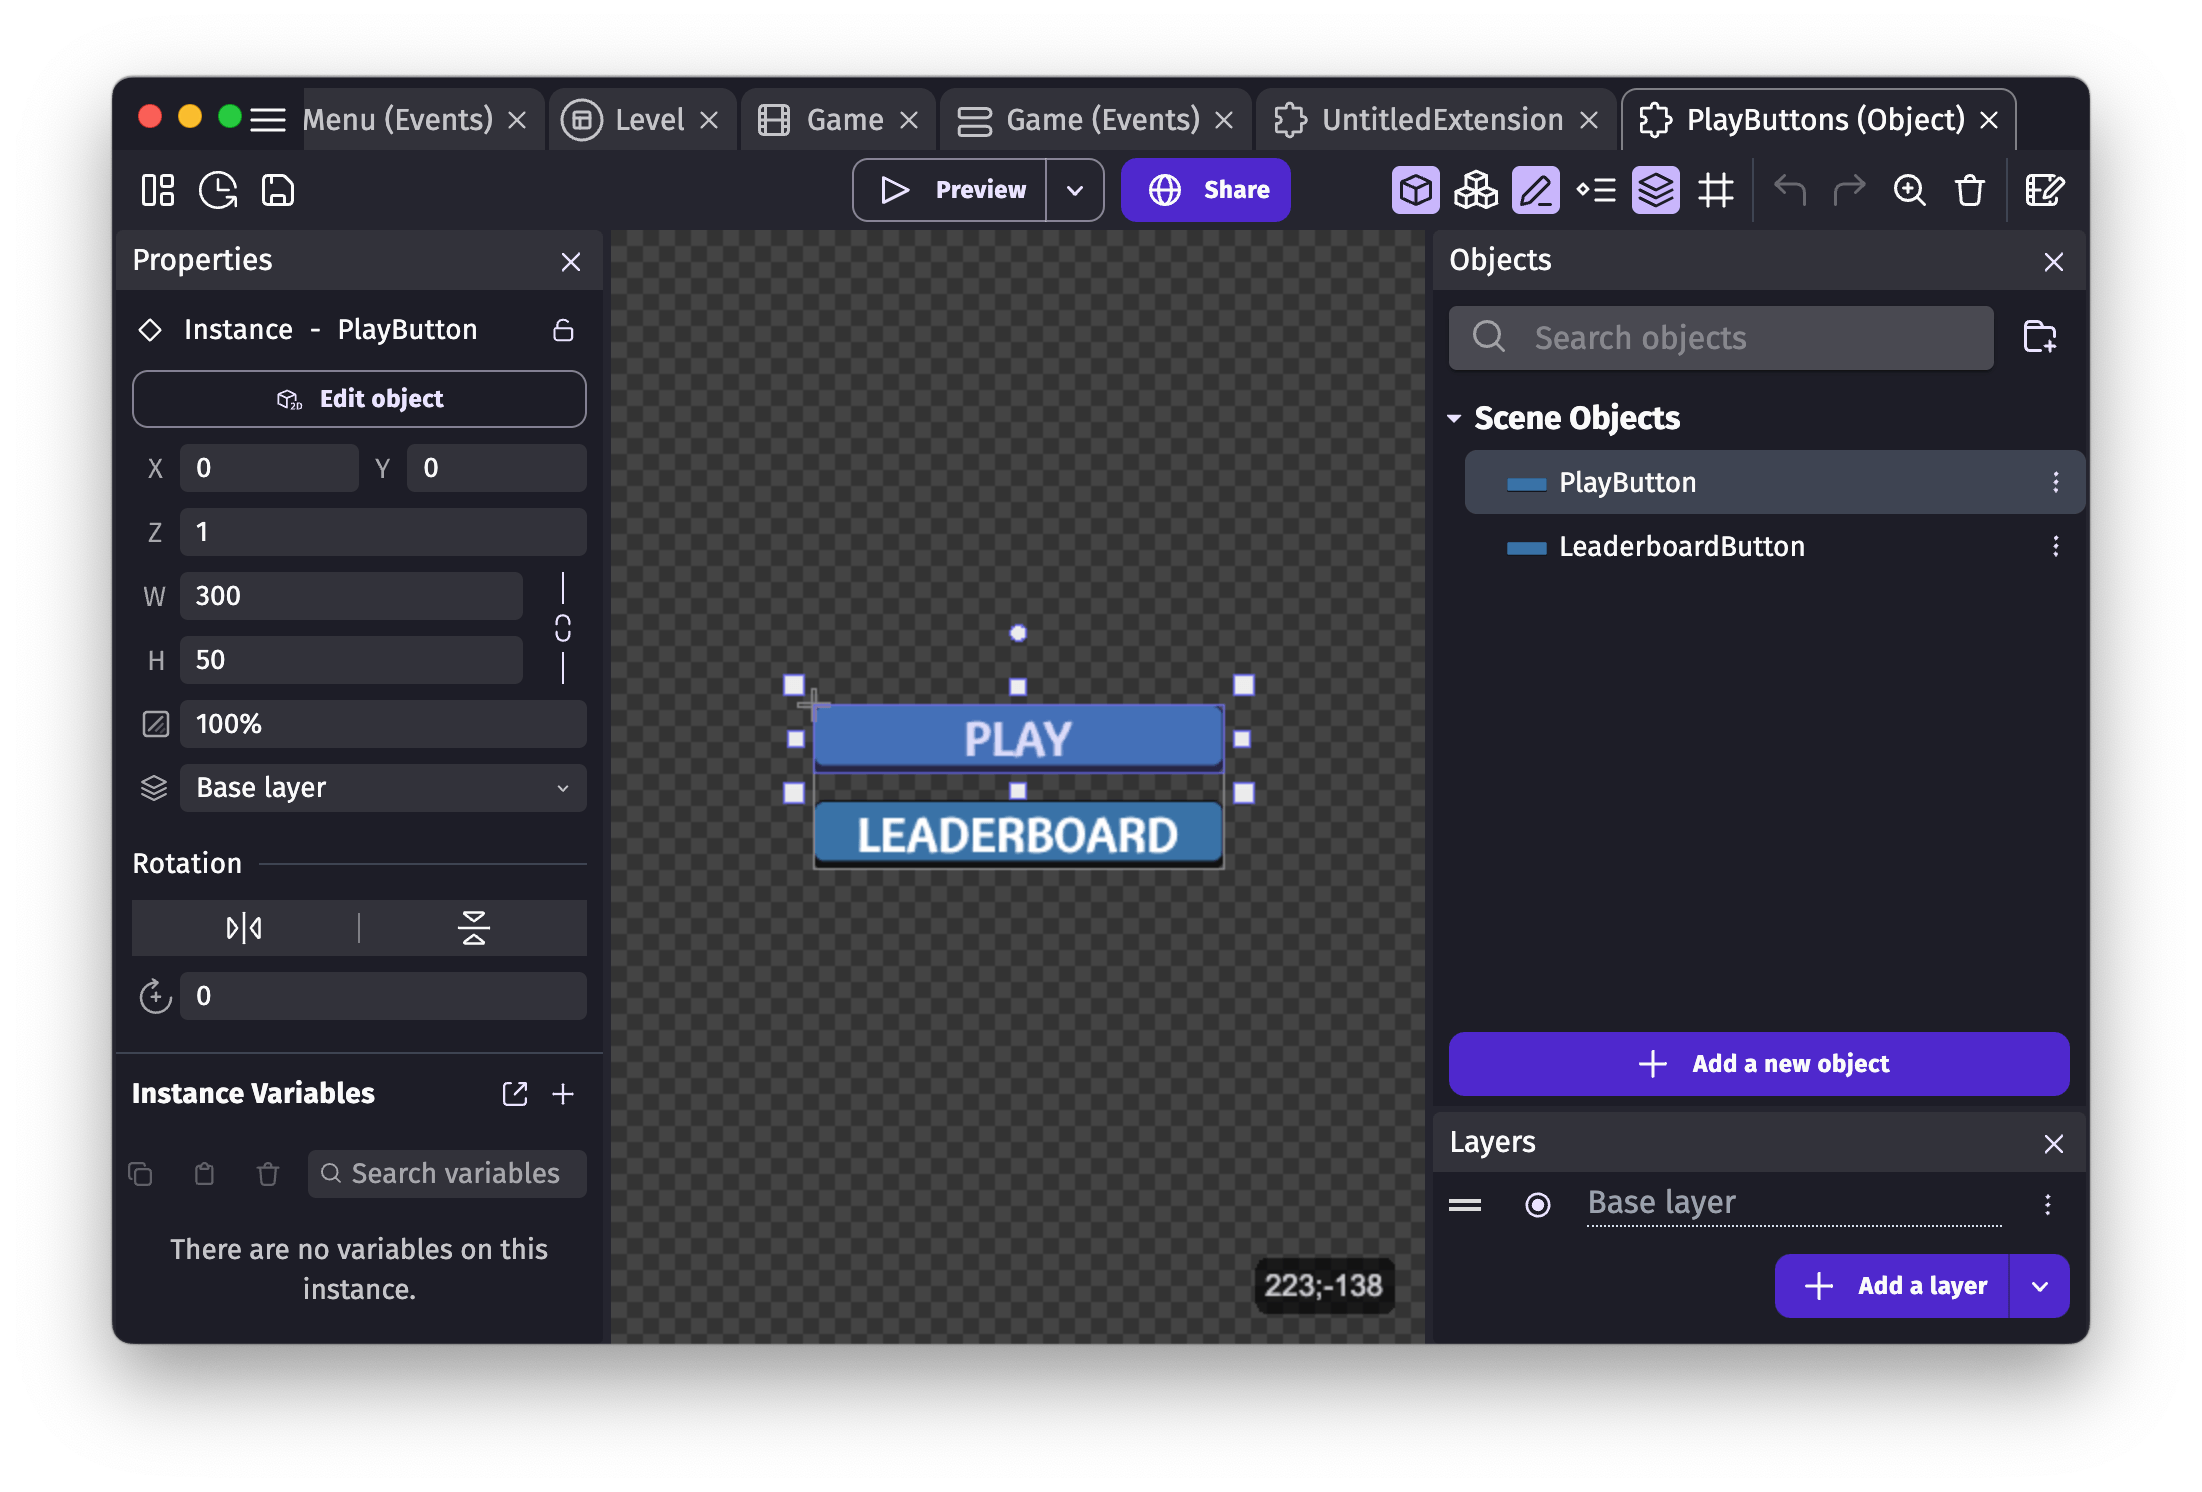
Choose an extension name, custom object name and validate. This will open a new editor containing the objects you've selected along with the instances from the scene. In the scene, the instances you've selected are replaced by a unique custom object, that acts as a container for all of them.
Note
At the moment, you can't mix 2D and 3D objects in a custom object.
If you started creating events using these objects, you must rework them. Indeed, the objects are now hidden inside the new custom object (they are called "children"). In most cases, you want to add 2 type of "functions" to your custom object:
- A doStepPostEvents function that are events launched at every frame - much like scene events. They can do logic on the child objects. For example, it could rotate them, animate them or something else.
- One or more action or condition. If your scene wants to manipulate a child, or use a condition on it, it's a good sign that you need to "expose" this through a custom action or condition.
This is an example of a condition made inside a custom object:
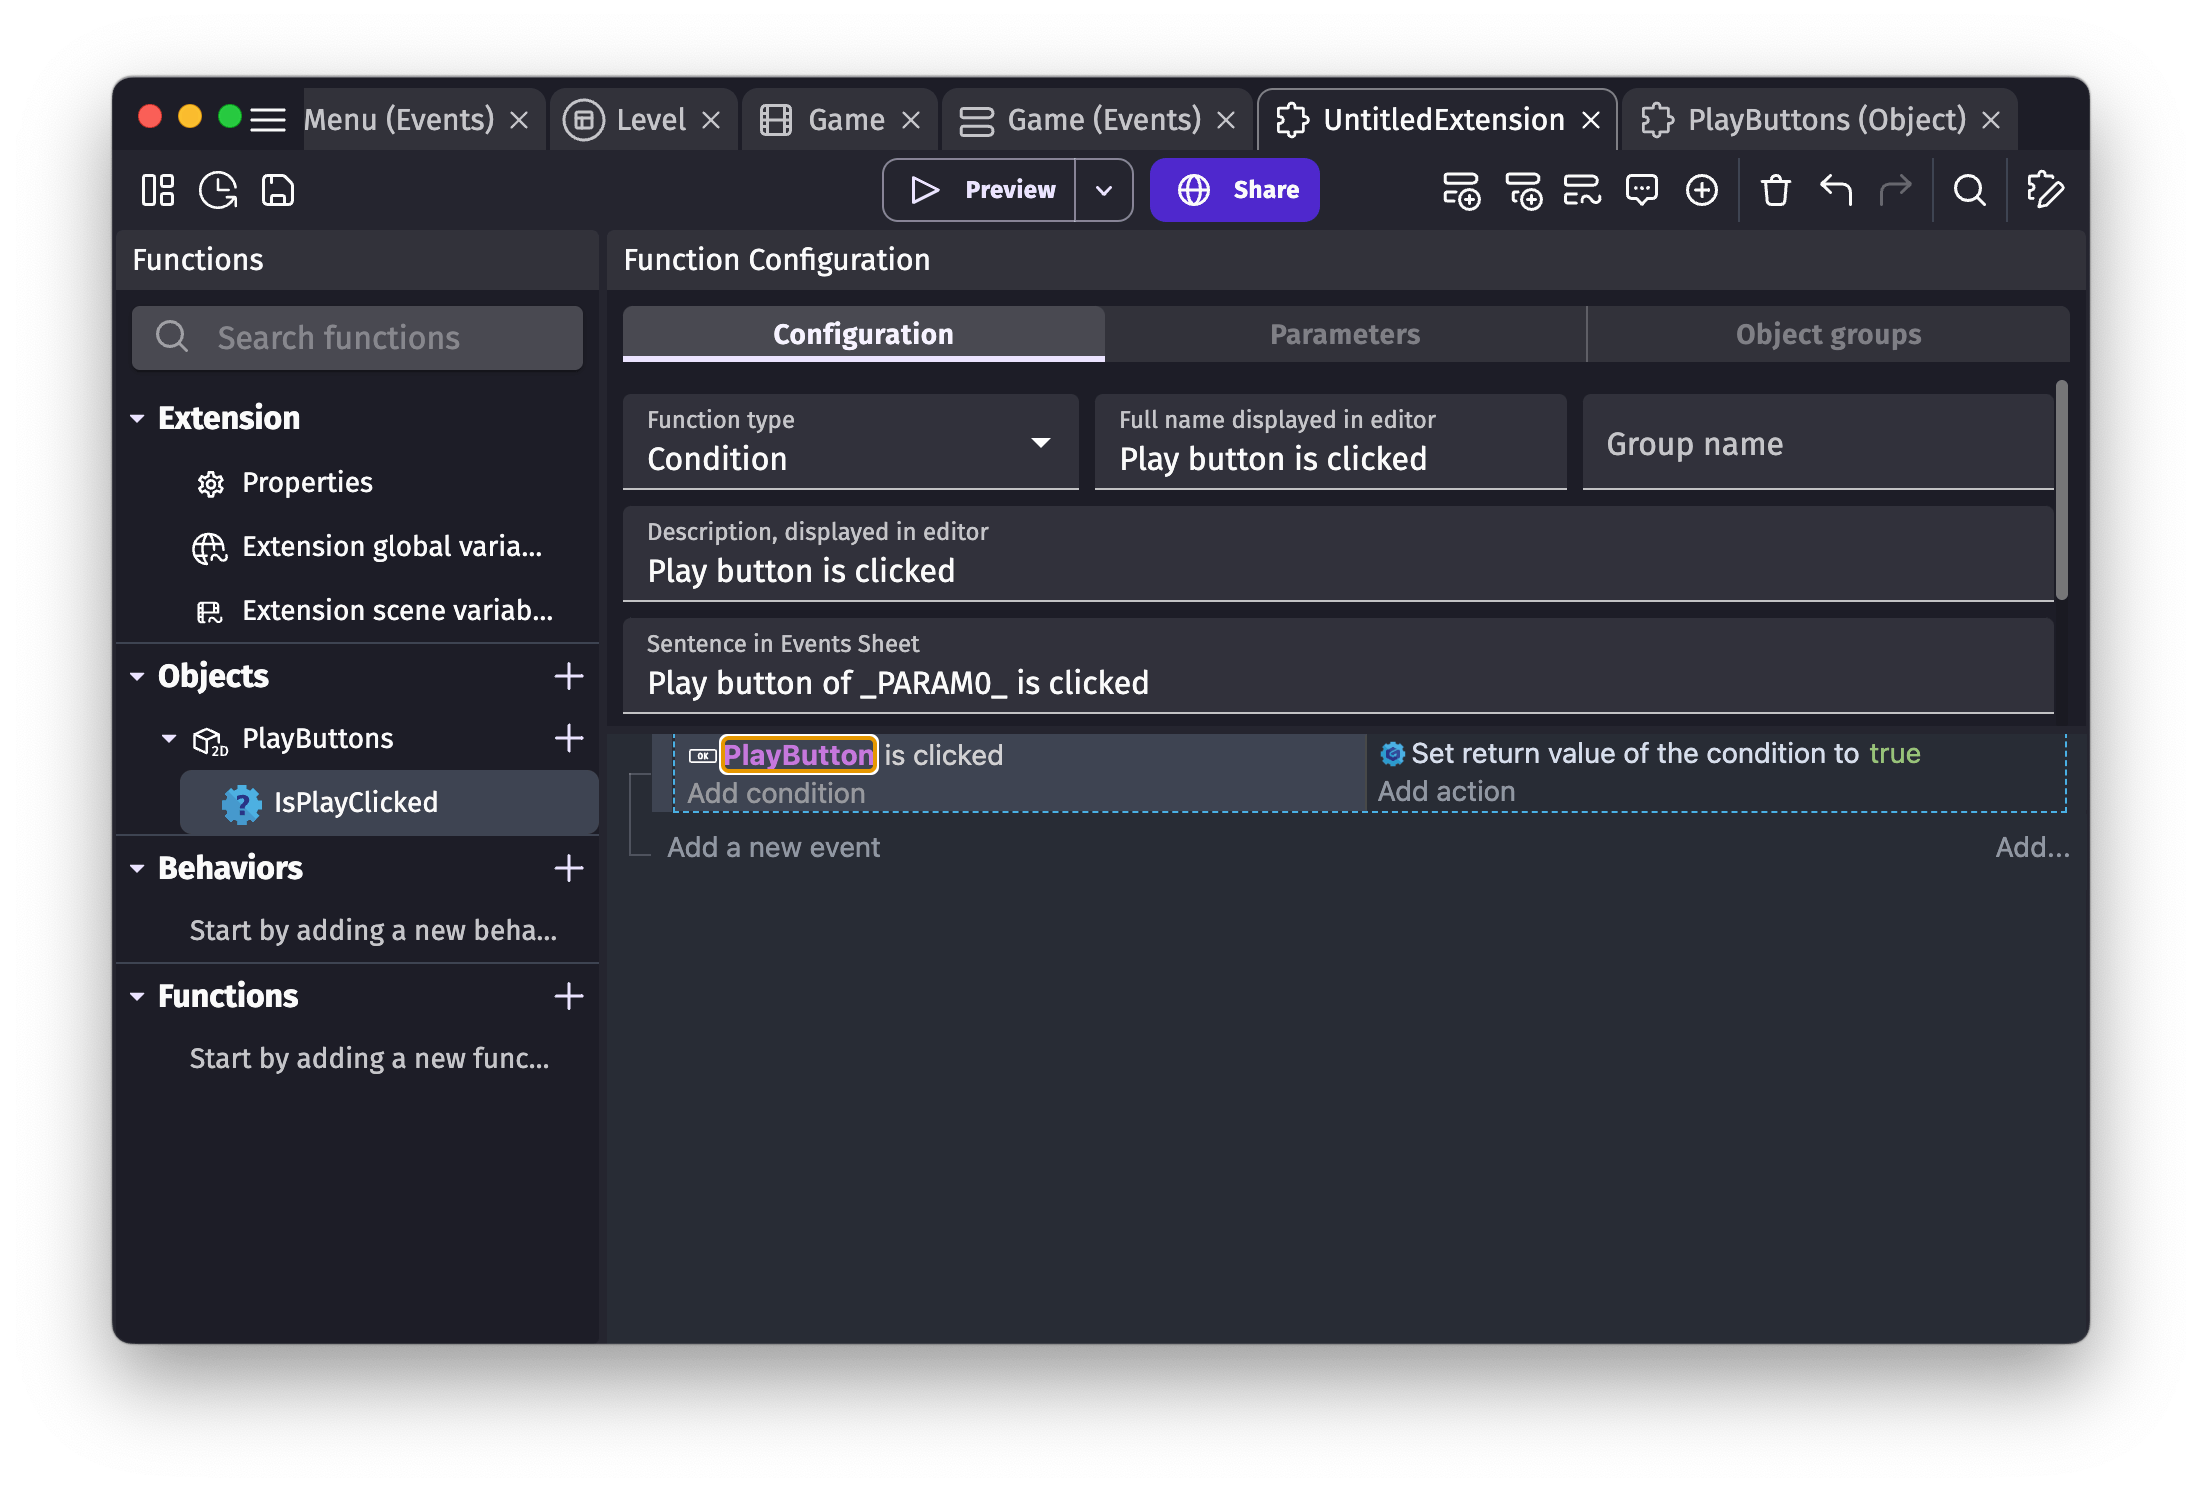
Of course, this example is pretty simple and just check if the button is clicked. But similar conditions and actions could be added to manipulate the custom object, and any logic you add here will work across all the scenes using the custom object.
The condition can be then used in the scene:
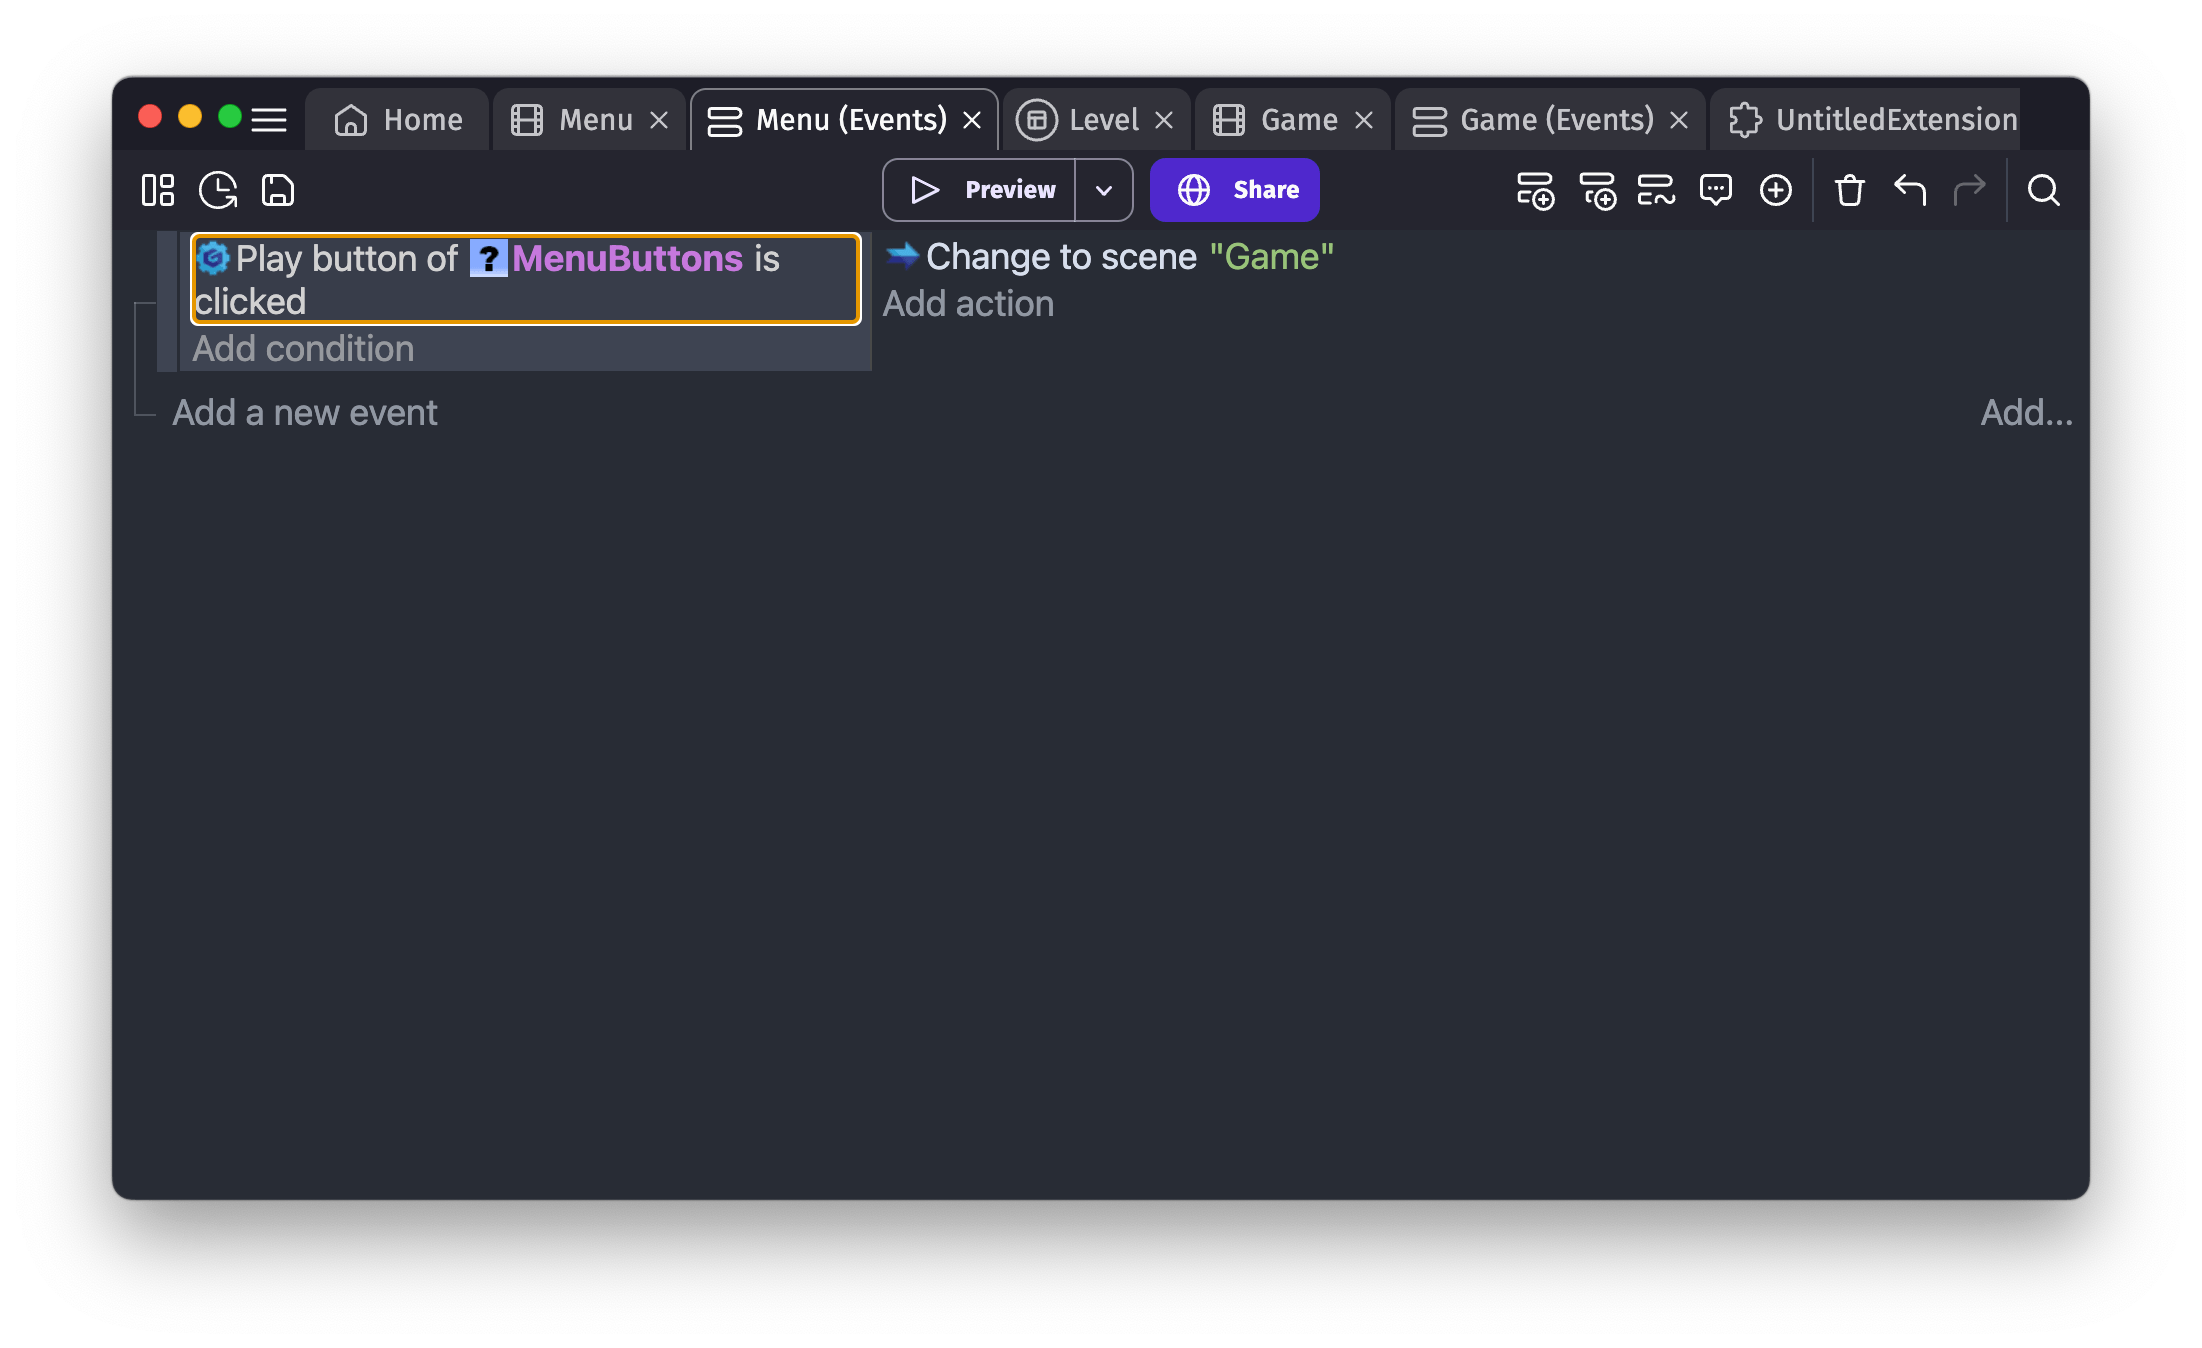
By doing this for more complex needs, you can break down game menus or even gameplay objects (like a player character, complex obstacles, enemies, etc...) into custom object that can be edited independently. Your scene stays simple and only focused on the high level details of your game.
Change the default size of a custom object
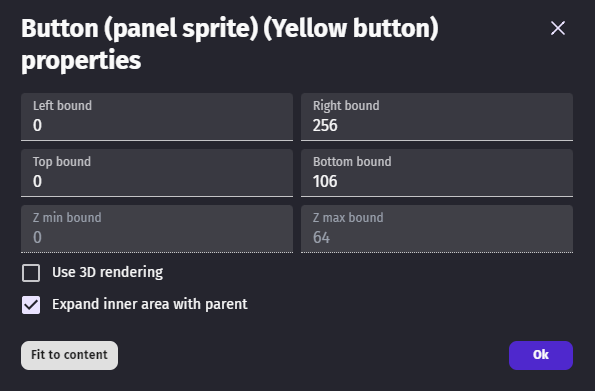
The grey rectangle on the scene is the custom object default size. Your can change this size by clicking on the button on the top right corner.
Custom object variants: create various styles or configurations
Variants allow you to create different visual styles or configurations of the same custom object. Each variant can have its own child object configurations (like different images, fonts, or colors) and initial instance placements, while sharing the same events and logic.
For example, you can create a "Button" custom object with multiple variants:
- A "Primary" variant with a blue background
- A "Secondary" variant with a grey background
- A "Danger" variant with a red background
All these variants will share the same button logic (hover effects, click handling, etc.), but each can have different visual appearances.
To create a new variant:
- Open the properties editor of an object (which is based on a custom object)
- Click on the Duplicate button next to the Variant title to duplicate the current variant, or create a new variant with the Plus button
- Give your variant a name
- Click on the Edit button to open the variant editor in a new tab
- Customize the child objects and their instances as needed
When you use the custom object in a scene, you can select which variant to use from the object properties.
Making variants using different objects inside
An important thing to understand is that all variants of a custom object share the same set of child objects. This is because all variants use the same events: if a child object exists in one variant, it must exist in all variants.
In practice, this means:
- You cannot add new child objects to a specific variant only.
- You cannot remove child objects from a specific variant.
- The main (default) variant of your custom object should contain all the possible child objects that any variant might need.
However, variants can differ in how they use these child objects:
- A variant can choose to not place any instances of a child object if it doesn't need it.
- Each variant can configure child objects differently (different images, sizes, colors, etc.).
- Each variant can position the instances of child objects differently.
For instance, if you have a dialog custom object with an optional "icon" child object, you should add the icon object in the main variant. Then, variants that need an icon can include an instance of it, while variants that don't need an icon simply don't place any instance of it.
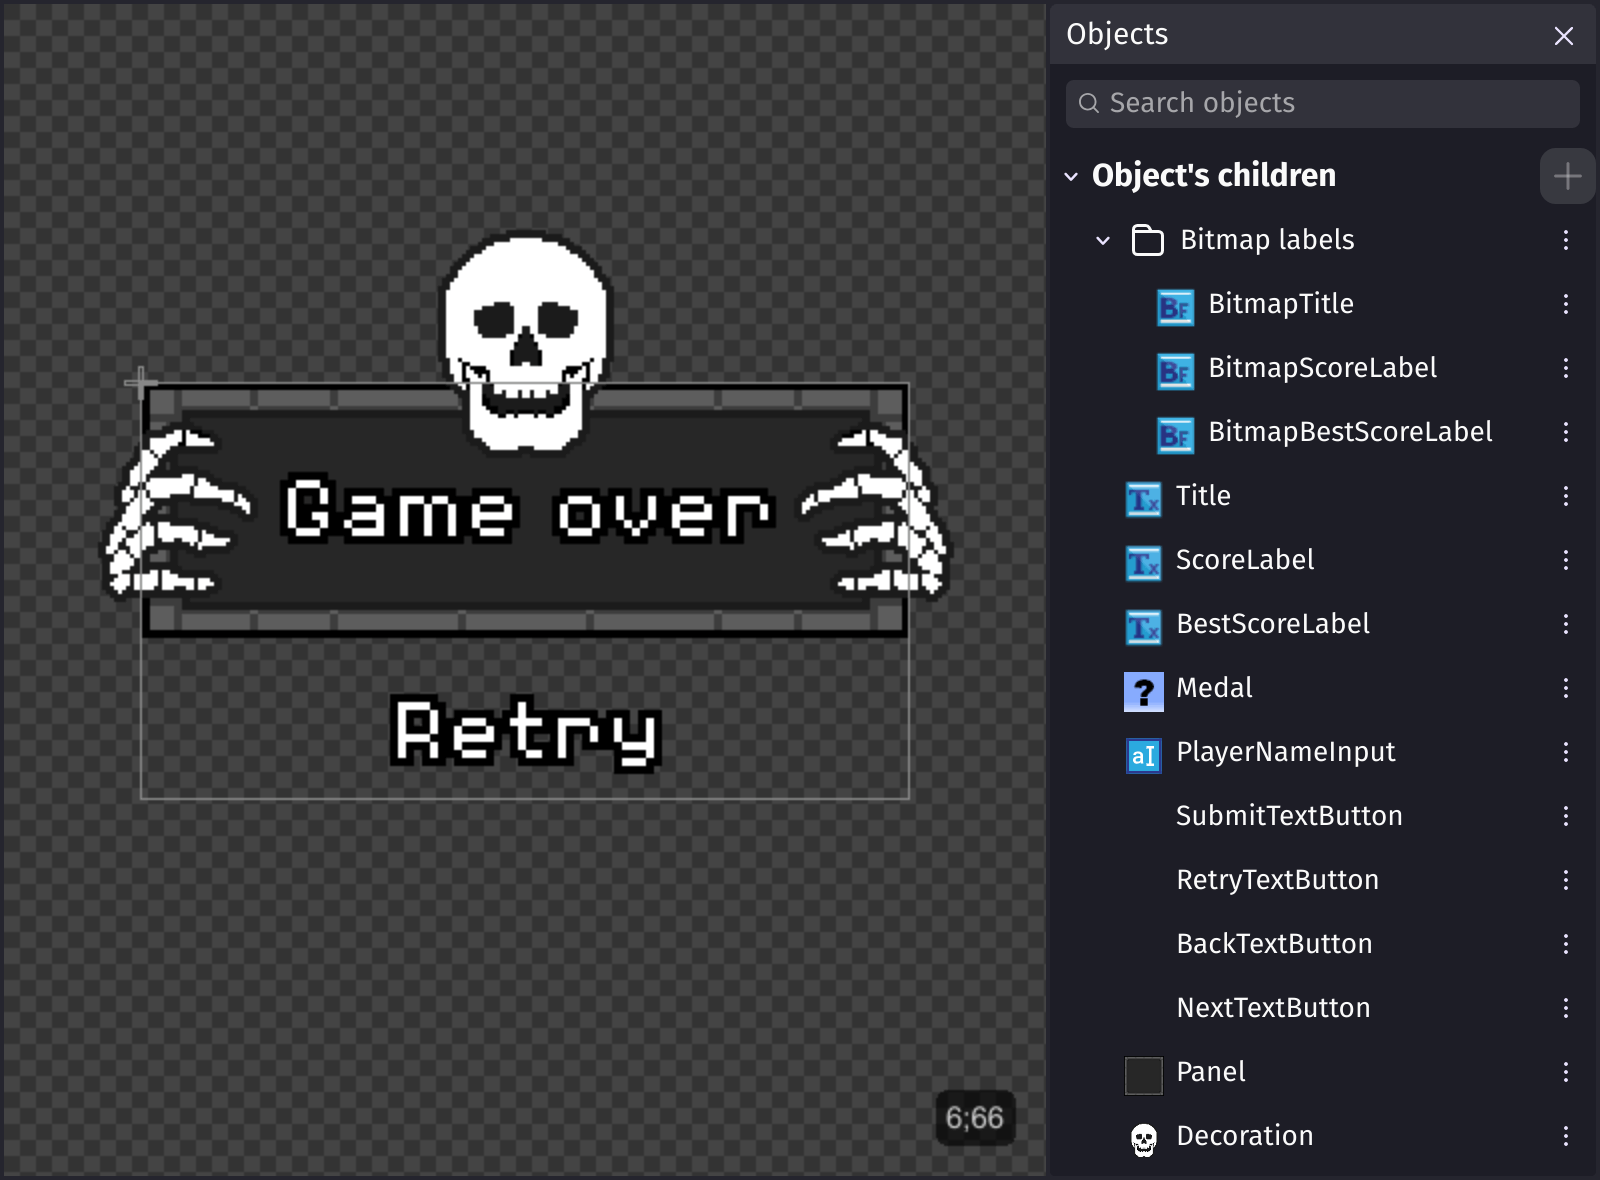
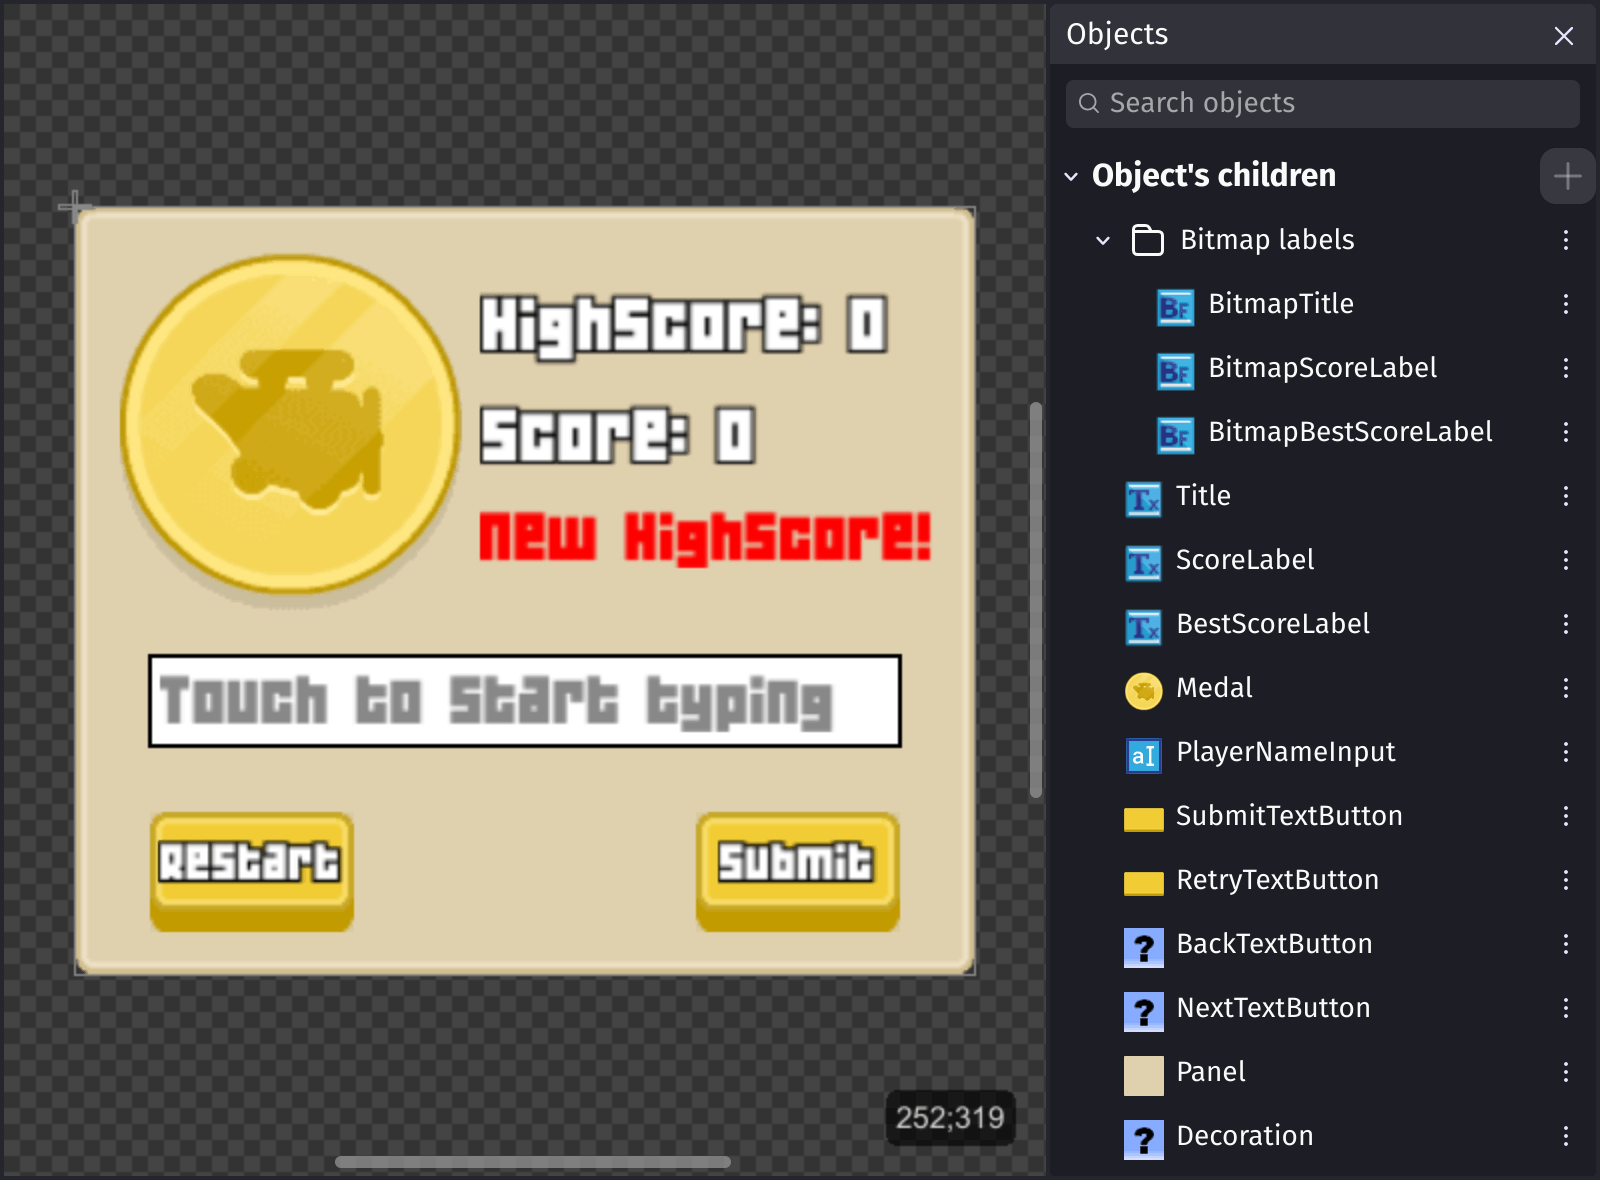
The game over dialog is a good example of this. It has several optional child objects:
- A
Decorationchild object with a Tween into view behavior, to fade it in and out. - A
Medalchild object, whose animation can be chosen with an action. - Several optional buttons, for instance a button to submit the score to a leaderboard.
- Two child objects for each text: a bitmap text one for pixel-art variants and a text one for variants with smoother art (for instance
BitmapScoreLabelandScoreLabel). Each variant only places an instance of the one it needs.
 |
 |
|---|---|
Add custom logic to a variant
Variants can't have their own events, but you can add logic around one by creating a new custom object that holds the existing custom object as a child.
The steps are the same as the ones detailed in the next section, with two differences: this new custom object only needs one kind of custom object as a child, and you can add any other object your logic needs.
Use several custom objects as if they were one
Objects that serve the same purpose are sometimes too different to be a single object type, because they need their own logic and properties.
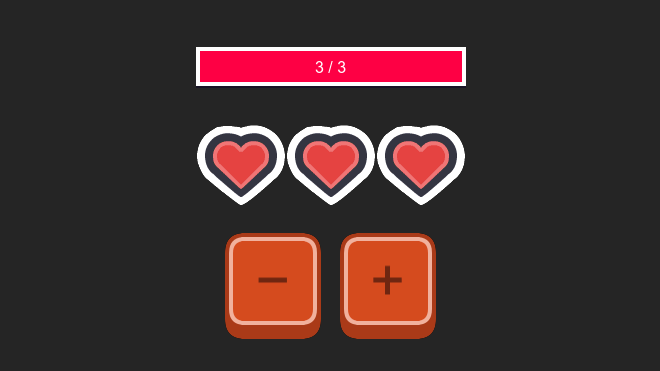
This is the case of the Resource bar (continuous) and Resource bar (separated units) objects. In the example below, an intermediate custom object wraps both kinds of bar so they can be used interchangeably.
Such an intermediate custom object allows to:
- Put both kinds of bar in the same object group, as if they were the same object type.
- Switch from one kind of bar to the other by simply choosing another variant.
- Add new kinds of bar later on, without changing the events that use them.
Tip
See it in action! 🎮
Open this example online.
Indirection custom object
You can do the same with your own custom objects by following these steps:
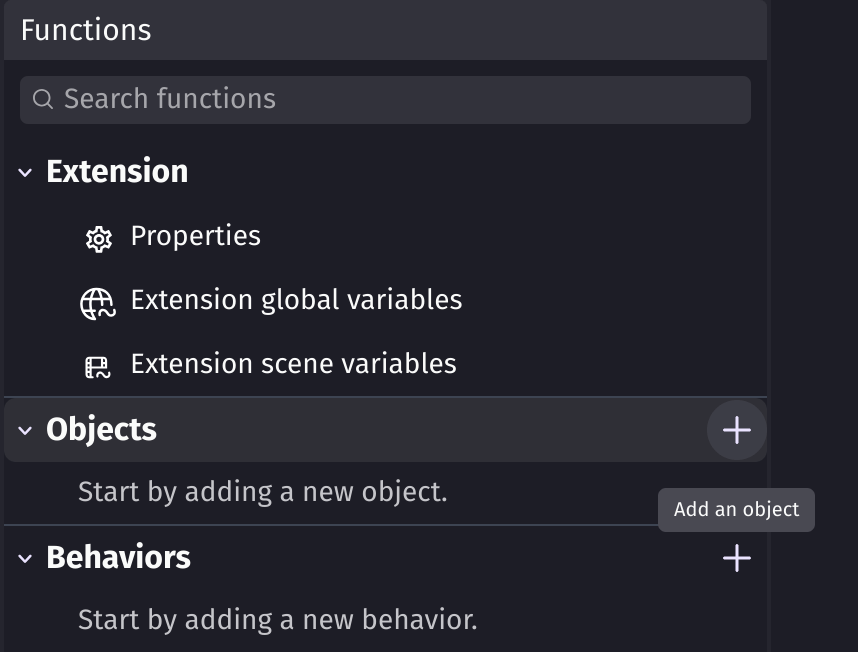
- Add a new custom object.
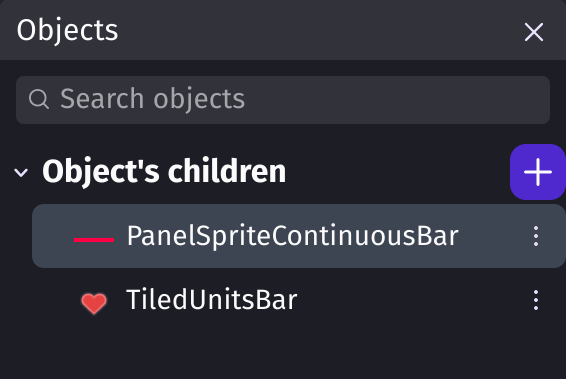
- Add the custom objects you want to use as its child objects.
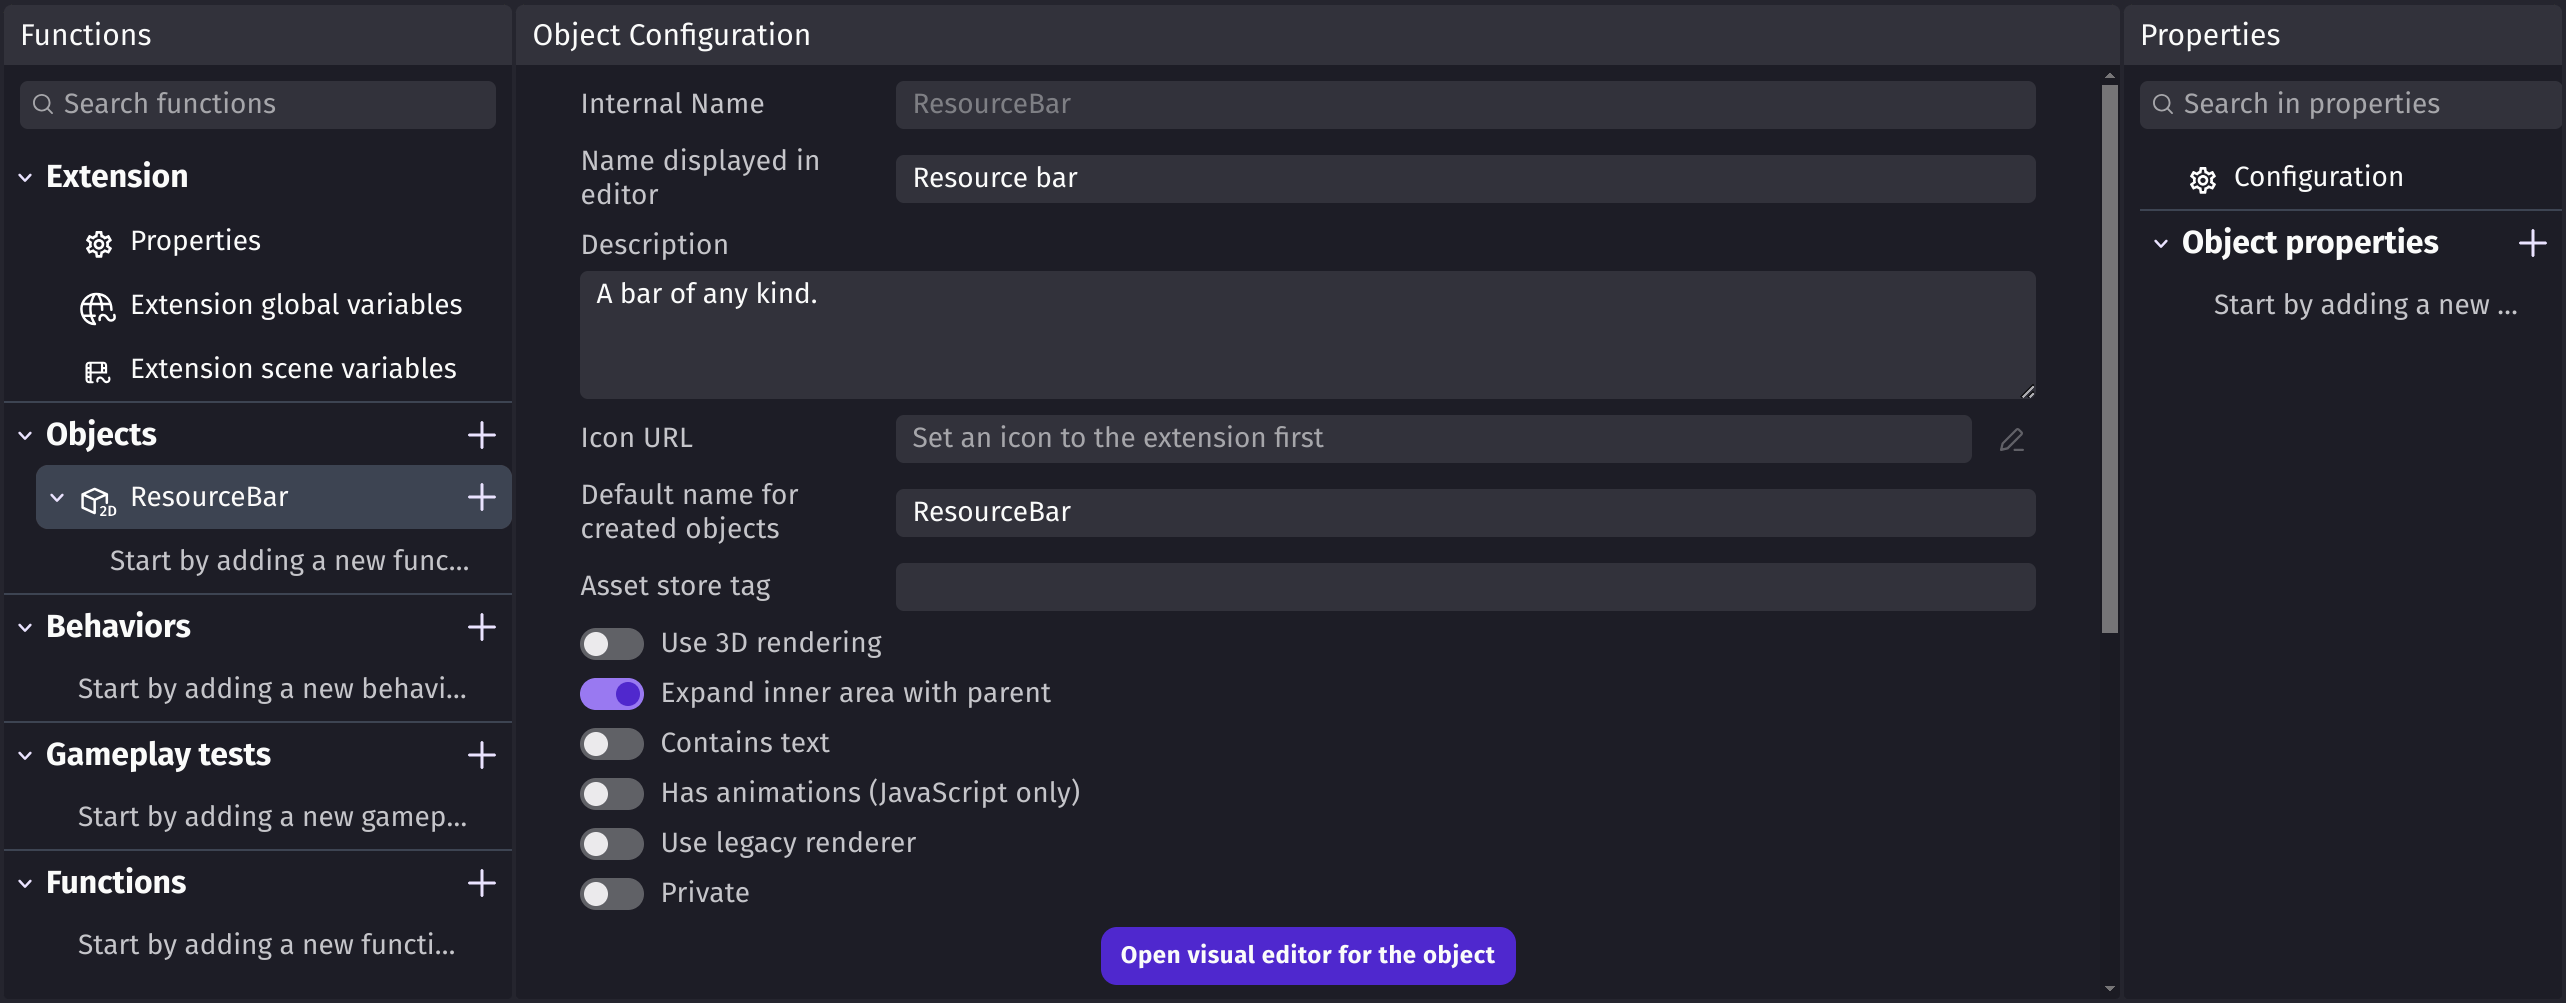
- If any of these custom objects has Expand inner area with parent enabled:
- Enable it on the new custom object too.
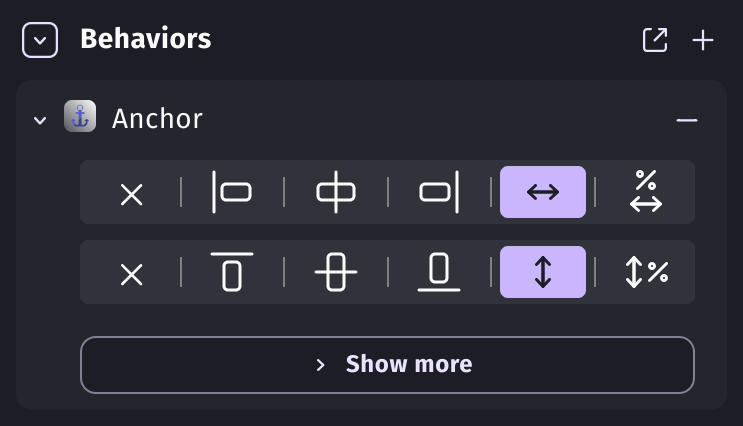
- Add an Anchor behavior to every child object (even the ones that have it disabled) and set it to stretch on both axes, so they always fill the parent.
- Click Generate functions and choose one of the child objects. This creates actions, conditions and expressions that forward the calls to this child object.

- Edit each generated function so it also forwards the call to the other child objects.
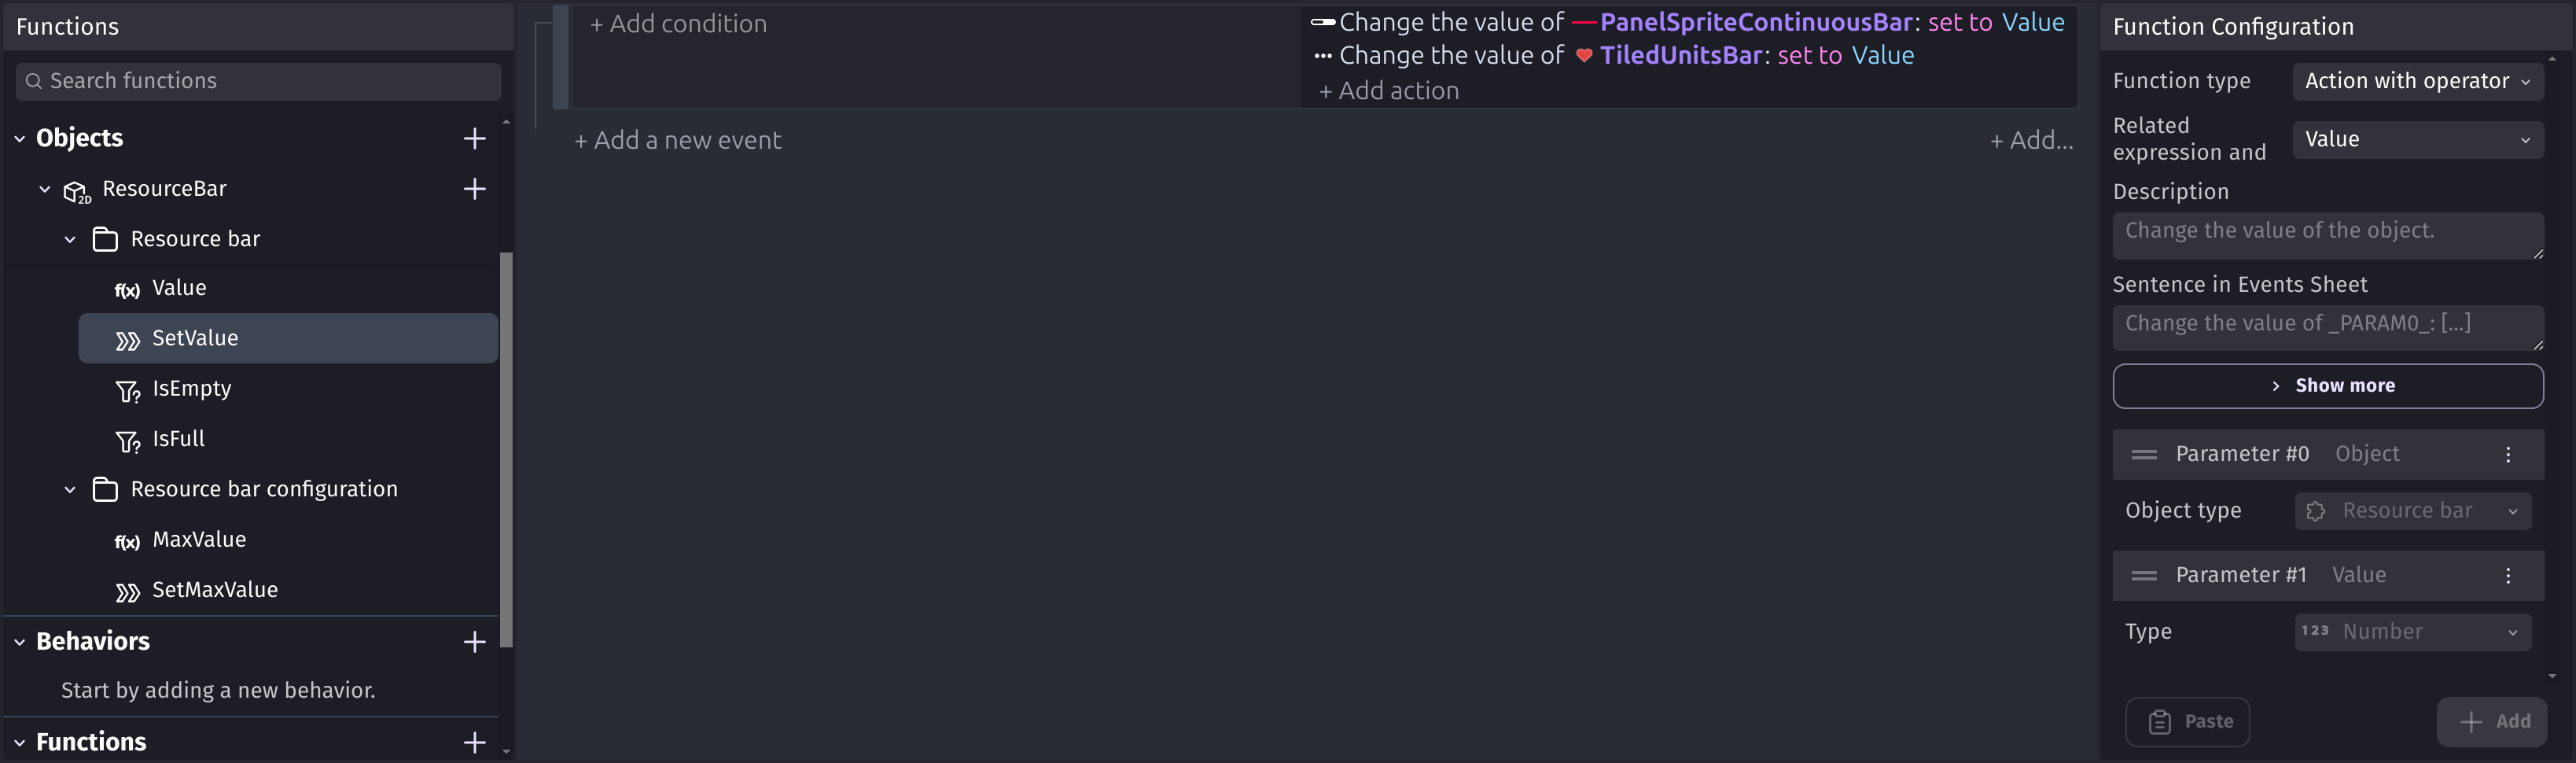
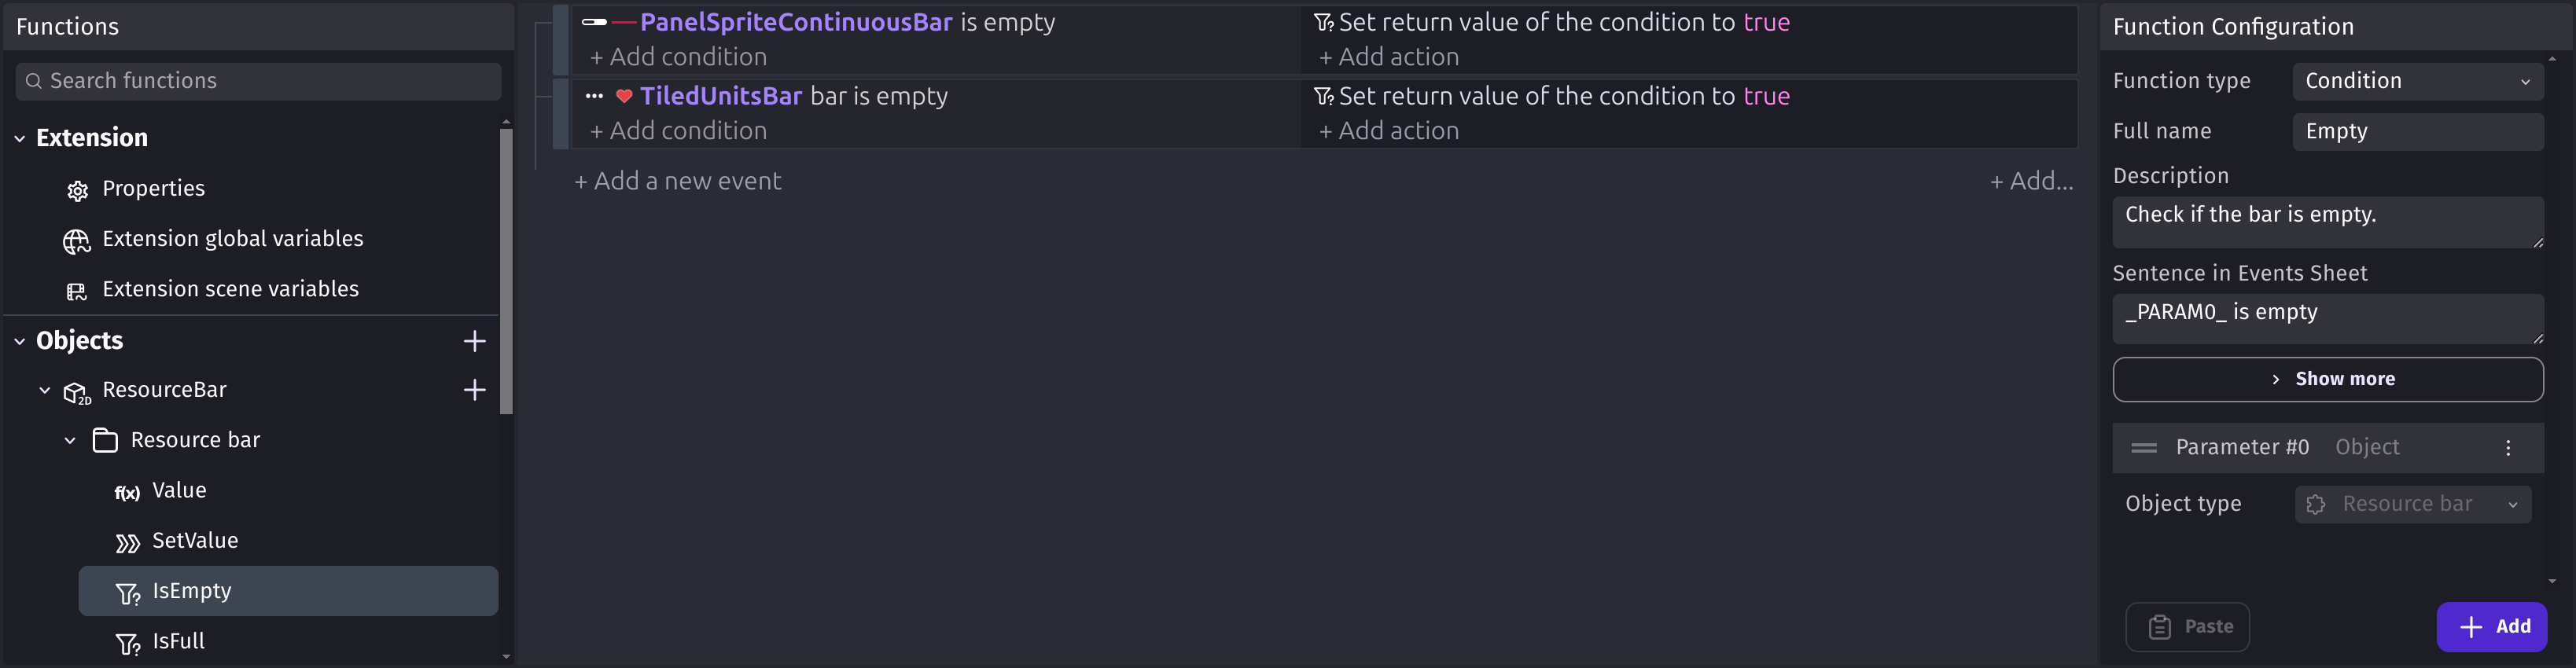
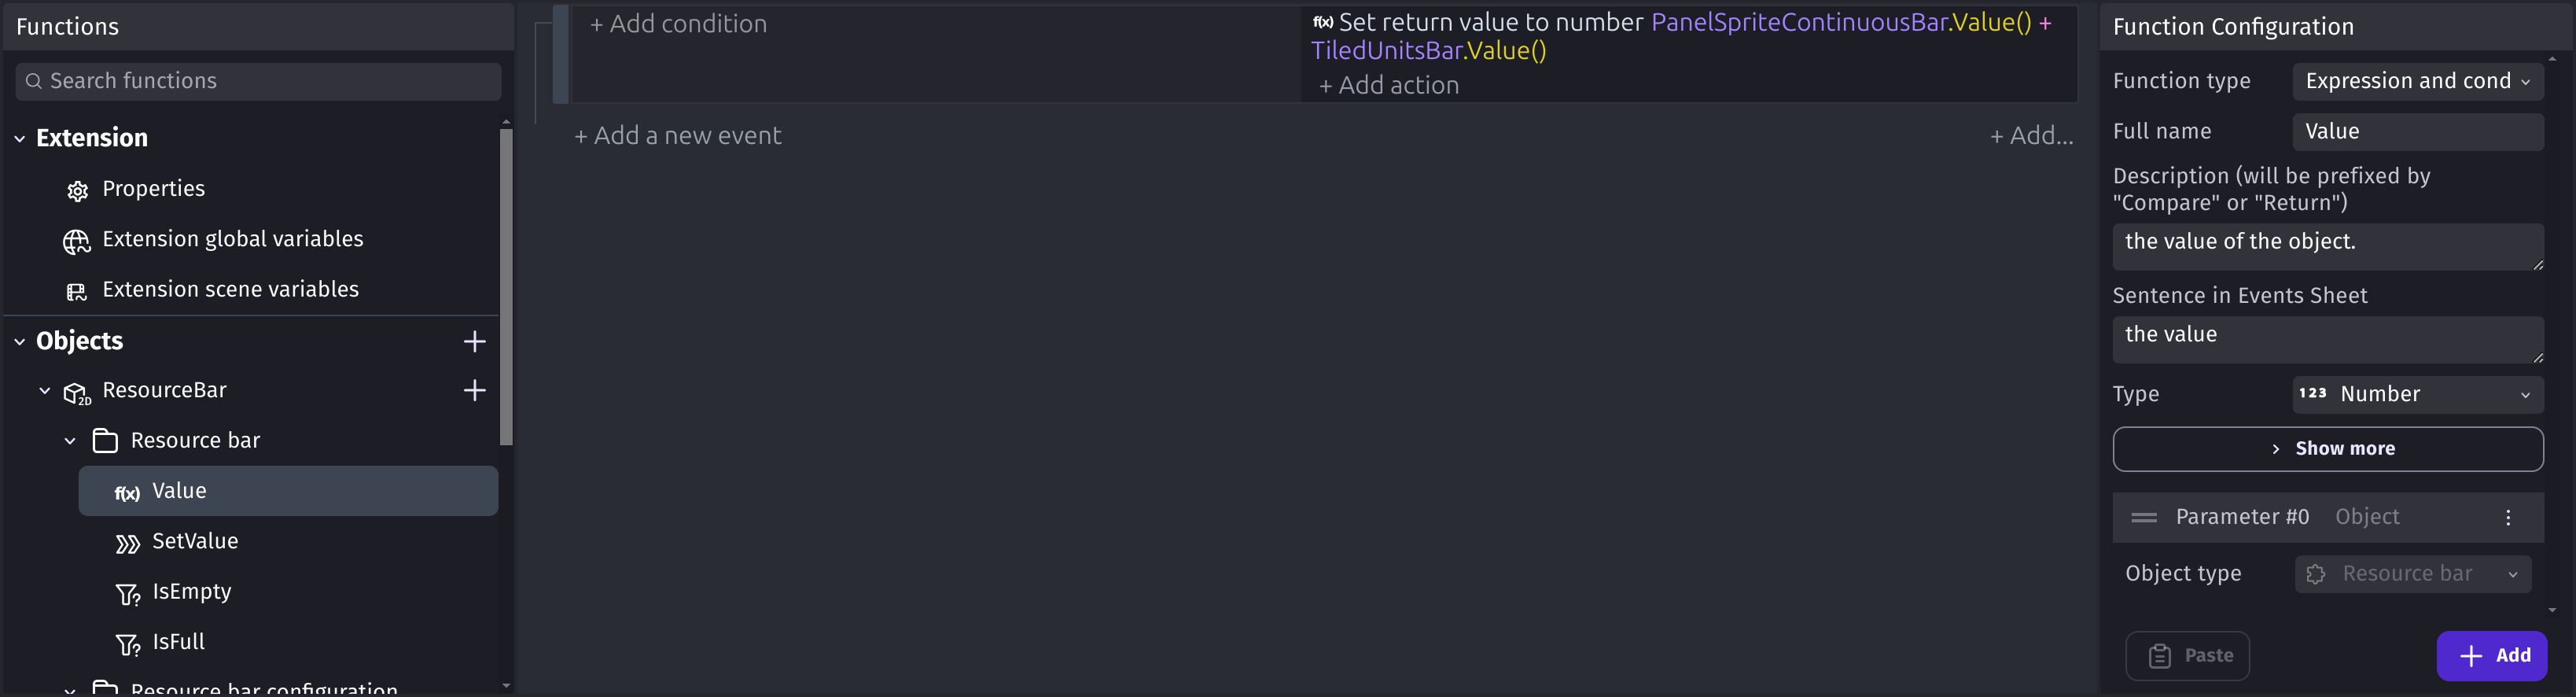
- Delete the generated functions that aren't shared by all the child objects.
- Copy all the properties of one child object and paste them into the new custom object.
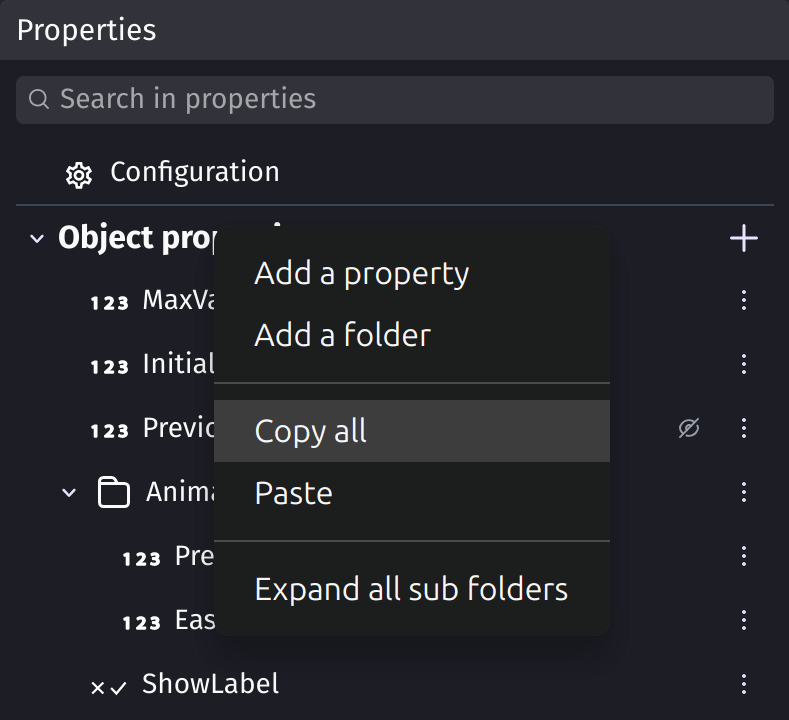
- Delete the properties that aren't shared by all the child objects.
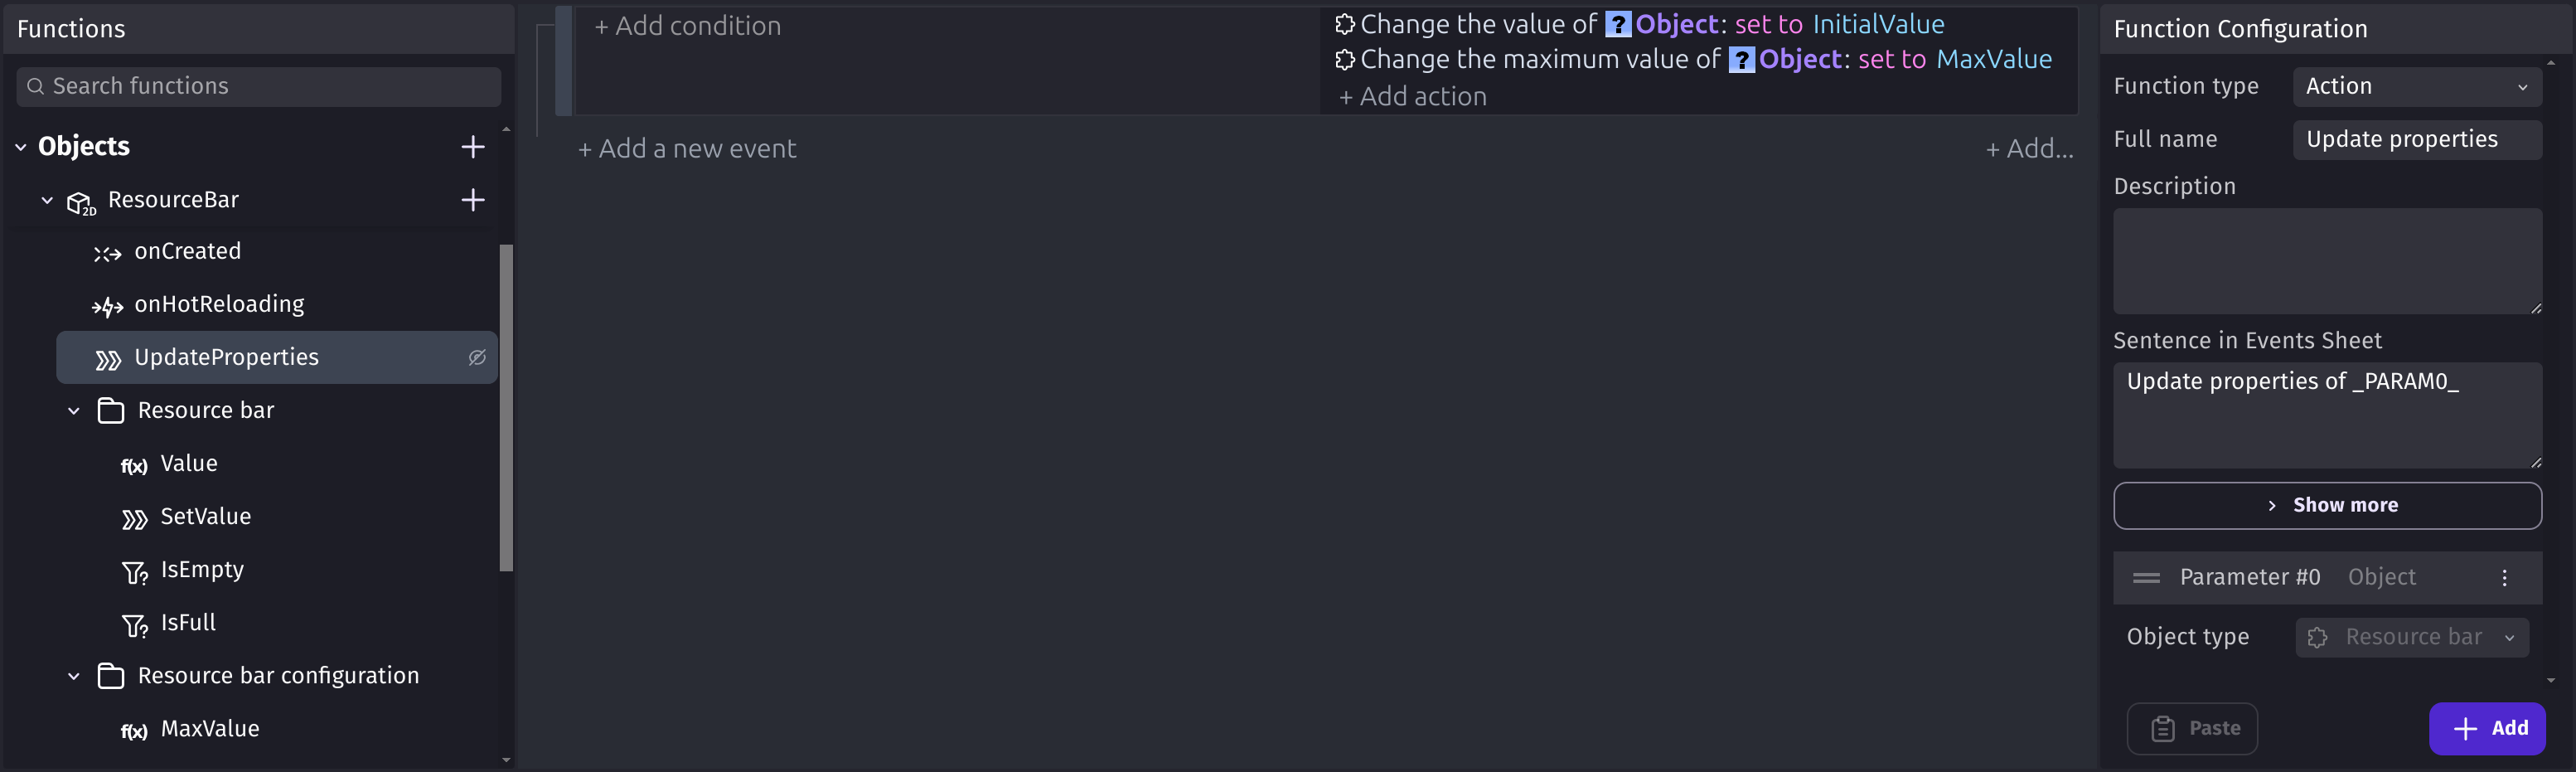
- Add a hidden function that applies these properties to the child objects, and call it from
onCreatedandonHotReloading.
- Create a variant for each kind of child object, with a single instance of that child object in it.
- In each variant, use Fit to content so that the custom object area matches the instance.